卷积GAN生成人脸
数据集
- CelebA数据集:CelebA是CelebFaces Attribute的缩写,意即名人人脸属性数据集,其包含10,177个名人身份的202,599张人脸图片,每张图片都做好了特征标记,包含人脸bbox标注框、5个人脸特征点坐标以及40个属性标记,CelebA由香港中文大学开放提供,广泛用于人脸相关的计算机视觉训练任务,可用于人脸属性标识训练、人脸检测训练以及landmark标记等。
数据集处理
图片预处理:将178*218的图片裁剪为128*128的图片
def crop_centre(img, new_width, new_height):
    height, width, _ = img.shape
    startx = width // 2 - new_width // 2
    starty = height // 2 - new_height // 2
    return img[starty:starty + new_height, startx:startx + new_width, :]
数据集处理:
class FaceDataset(Dataset):
    def __init__(self, file_dir):
        self.image_dir = file_dir
        # self.img_list = random.sample(os.listdir(file_dir), 10000)
        # 先读取文件名称,需要时再读取。
        self.img_list = os.listdir(file_dir)

    def __len__(self):
        return len(self.img_list)

    def __getitem__(self, index):
        img = numpy.array(Image.open(os.path.join(self.image_dir, self.img_list[index])))
        # 裁剪图片
        img = crop_centre(img, 128, 128)
        # permute(2,0,1)将numpy数组重新排序为(3,高度,宽度)。view(1,3,128,128)为批量大小增加了一个额外的维度,设置为1。
        img = torch.cuda.FloatTensor(img).permute(2, 0, 1).view(1, 3, 128, 128)
        return img / 255.0

    def plot_image(self, index):
        img = numpy.array(Image.open(os.path.join(self.image_dir, self.img_list[index])))
        img = crop_centre(img, 128, 128)
        plt.imshow(img)
        plt.show()
鉴别器
鉴别器设计:鉴别器使用3个卷积层和1个最后的全连接层;
代码实现:
class View(nn.Module):
  def __init__(self, shape):
      super(View, self).__init__()
      self.shape = shape,

  def forward(self, x):
      return x.view(*self.shape)

class Discriminator(nn.Module):
  def __init__(self):
      super(Discriminator, self).__init__()
      self.model = nn.Sequential(
          nn.Conv2d(3, 256, kernel_size=8, stride=2),  # (128 - 8) / 2 + 1
          nn.BatchNorm2d(256), # 标准化
          nn.LeakyReLU(0.2),

          nn.Conv2d(256, 256, kernel_size=8, stride=2),  # ((61 - 8 ) / 2 + 1
          nn.BatchNorm2d(256), # 标准化
          nn.LeakyReLU(0.2),

          nn.Conv2d(256, 3, kernel_size=8, stride=2),  # (27 - 8) / 2 + 1
          nn.LeakyReLU(0.2),

          View(3 * 10 * 10),
          nn.Linear(3 * 10 * 10, 1),
          nn.Sigmoid()
      )

      self.loss_func = nn.BCELoss()

      self.optimiser = torch.optim.Adam(self.parameters(), lr=0.0001)
      # self.optimiser.param_groups[0]['capturable'] = True  # pytroch-1.12.0 的bug

      # 记录训练进展的计数器和列表
      self.counter = 0
      self.progress = []

  def forward(self, inputs):
      return self.model(inputs)

  def train(self, inputs, targets):
      outputs = self.forward(inputs)
      loss = self.loss_func(outputs, targets)
      # 梯度归零,反向传播,并更新权重
      self.optimiser.zero_grad()
      loss.backward()
      self.optimiser.step()
      self.counter += 1

      if self.counter % 10 == 0:
          self.progress.append(loss.item())

  def plot_progress(self):
      plt.scatter([i for i in range(len(self.progress))], self.progress, s=1)
      plt.show()
生成器
生成器设计:
生成器代码
class Generator(nn.Module):
 def __init__(self):
     super(Generator, self).__init__()
     self.model = nn.Sequential(  # 输入是一个一维数组
         nn.Linear(100, 3 * 11 * 11),
         nn.LeakyReLU(0.2),
         # 转换成四维
         View((1, 3, 11, 11)),
         nn.ConvTranspose2d(3, 256, kernel_size=8, stride=2),  # (11-1)*2-2*0+1*(8-1)+1
         nn.BatchNorm2d(256),
         nn.LeakyReLU(0.2),
         nn.ConvTranspose2d(256, 256, kernel_size=8, stride=2),  # (28-1)*2-2*0+1*(8-1)+1
         nn.BatchNorm2d(256),
         nn.LeakyReLU(0.2),
         nn.ConvTranspose2d(256, 3, kernel_size=8, stride=2, padding=1),  # (60-1)*2+2*1+1*(8-1)+1
         nn.BatchNorm2d(3),
         nn.Sigmoid()
     )
     # self.loss_func = nn.BCELoss()
     self.optimiser = torch.optim.Adam(self.parameters(), lr=0.0001)
     # self.optimiser.param_groups[0]['capturable'] = True

     # 记录训练进展的计数器和列表
     self.counter = 0
     self.progress = []

 def forward(self, inputs):
     return self.model(inputs)

 def train(self, D: Discriminator, inputs, outputs):
     g_outputs = self.forward(inputs)
     d_outputs = D.forward(g_outputs)
     loss = D.loss_func(d_outputs, outputs)
     self.optimiser.zero_grad()
     loss.backward()
     self.optimiser.step()

     # 每隔10个训练样本增加一次计数器的值,并将损失值添加进列表的末尾
     self.counter += 1

     if self.counter % 10 == 0:
         self.progress.append(loss.item())

 def plot_progress(self):
     plt.scatter([i for i in range(len(self.progress))], self.progress, s=1)
     plt.show()
训练GAN
- 我们向鉴别器展示一幅实际数据集中的图像,并让它对图像进行分类。输出应为1.0,我们再用损失来更新鉴别器。
- 第2步同样是训练鉴别器,不过这一次我们向它展示的是生成器的图像。输出的结果应该是0.0。我们只用损失来更新鉴别器。在这一步中,我们必须注意不要更新生成器。因为我们不希望它因为被鉴别器识破而受到奖励。
第3步是训练生成器。我们先用它生成一个图像,并将生成的图像输入给鉴别器进行分类。鉴别器的预期输出应该是1.0。我们希望生成器能成功骗过鉴别器,让它误以为图像是真实的,而不是生成的。我们只用结果的损失来更新生成器,而不更新鉴别器。
def generate_random_image(size):
    random_data = torch.rand(size)
    return random_data


def generate_random_seed(size):
    random_data = torch.randn(size)
    return random_data


if torch.cuda.is_available():
    torch.set_default_tensor_type(torch.cuda.FloatTensor)
    print("using cuda:", torch.cuda.get_device_name(0))

device = torch.device("cuda" if torch.cuda.is_available() else "cpu")
print(device)

face_dataset = FaceDataset(r'C:\Users\ronie\Desktop\program\PyTorchLearn\dataset\face_img\img_align_celeba')
D = Discriminator()
D.to(device)
G = Generator()
G.to(device)

epochs = 1
t1 = time.time()
i = 0
for epoch in range(epochs):
print('epoch:', epoch + 1)
for image_data_tensor in face_dataset:
    D.train(image_data_tensor, torch.cuda.FloatTensor([1.0]))
    D.train(G.forward(generate_random_seed(100)).detach(), torch.cuda.FloatTensor([0.0]))
    # 训练生成器
    G.train(D, generate_random_seed(100), torch.cuda.FloatTensor([1.0]))
    i += 1
    if i % 100 == 0:
        print(i)
    if i % 10000 == 0:
        torch.save(D, os.path.join(r'C:\Users\ronie\Desktop\program\PyTorchLearn\pth\gan_face', 'Dface_cnn_with_{}pictures.pth'.format(i + 400000)))
        torch.save(G, os.path.join(r'C:\Users\ronie\Desktop\program\PyTorchLearn\pth\gan_face', 'Gface_cnn_with_{}pictures.pth'.format(i + 400000)))
print((time.time() - t1) / 60)
G.plot_progress()
D.plot_progress()
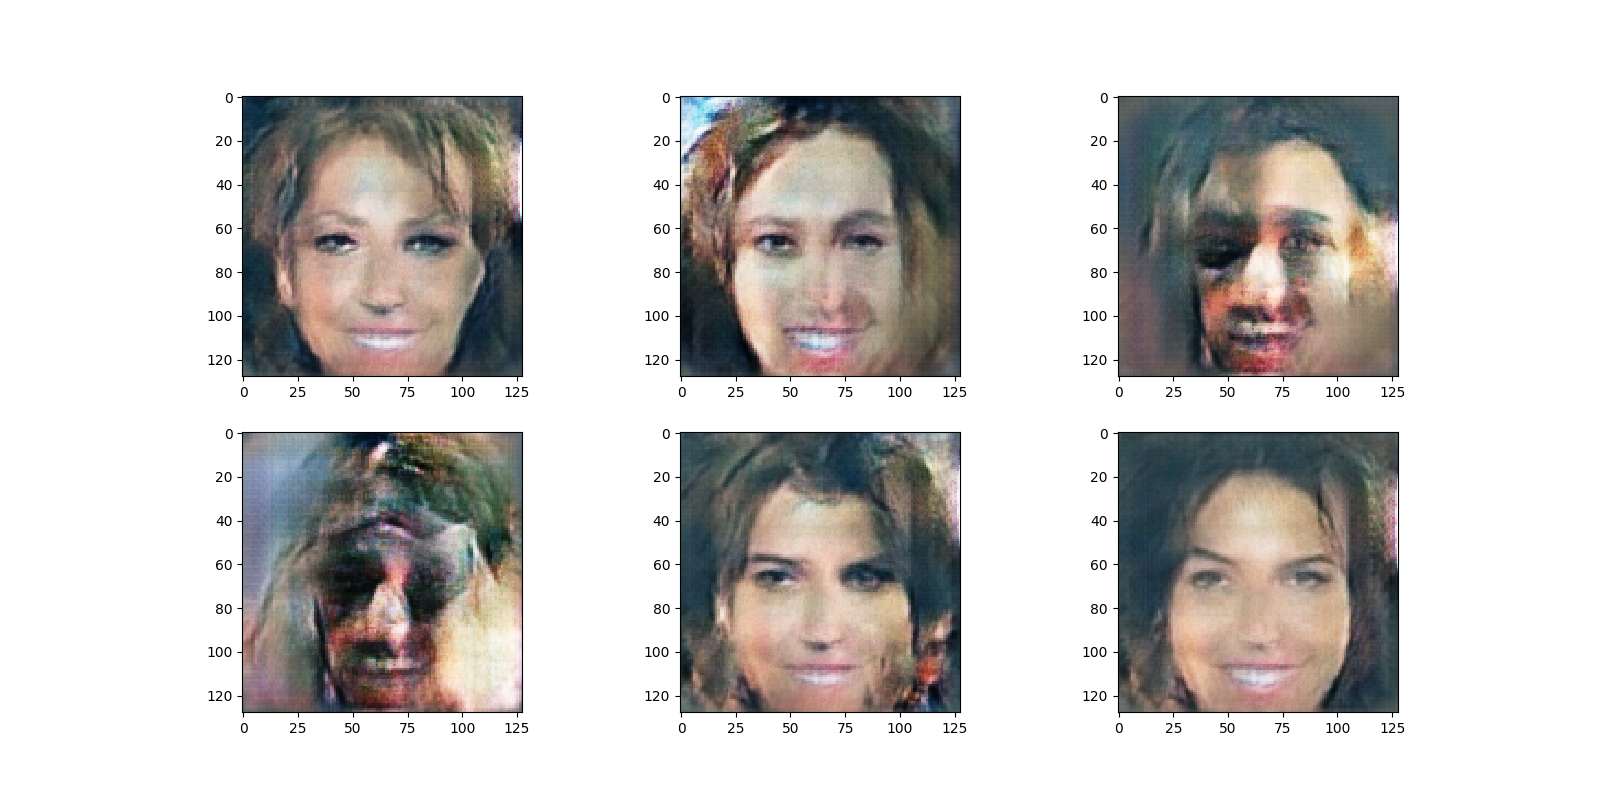
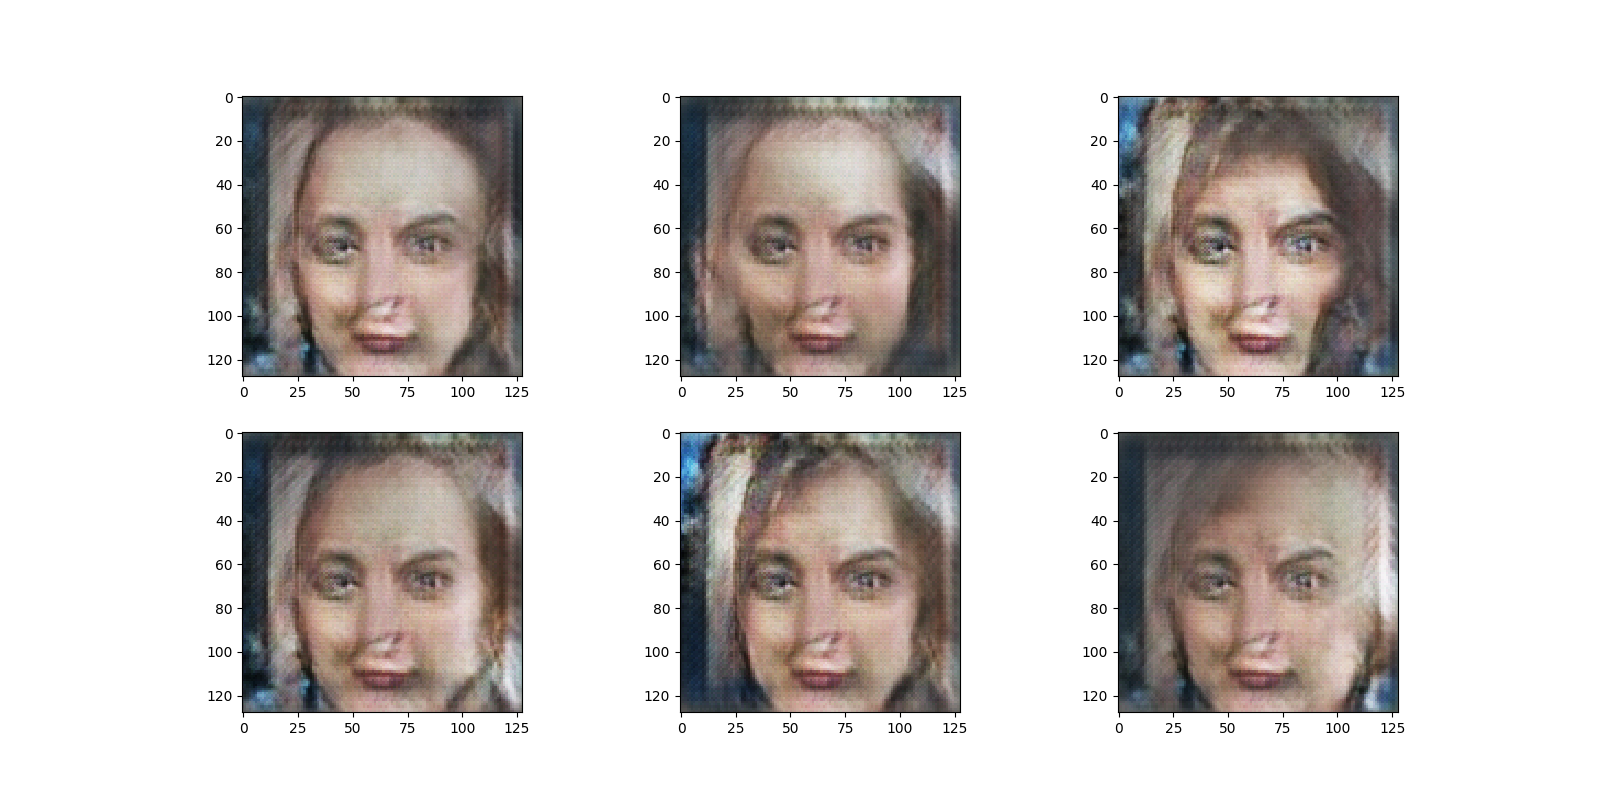
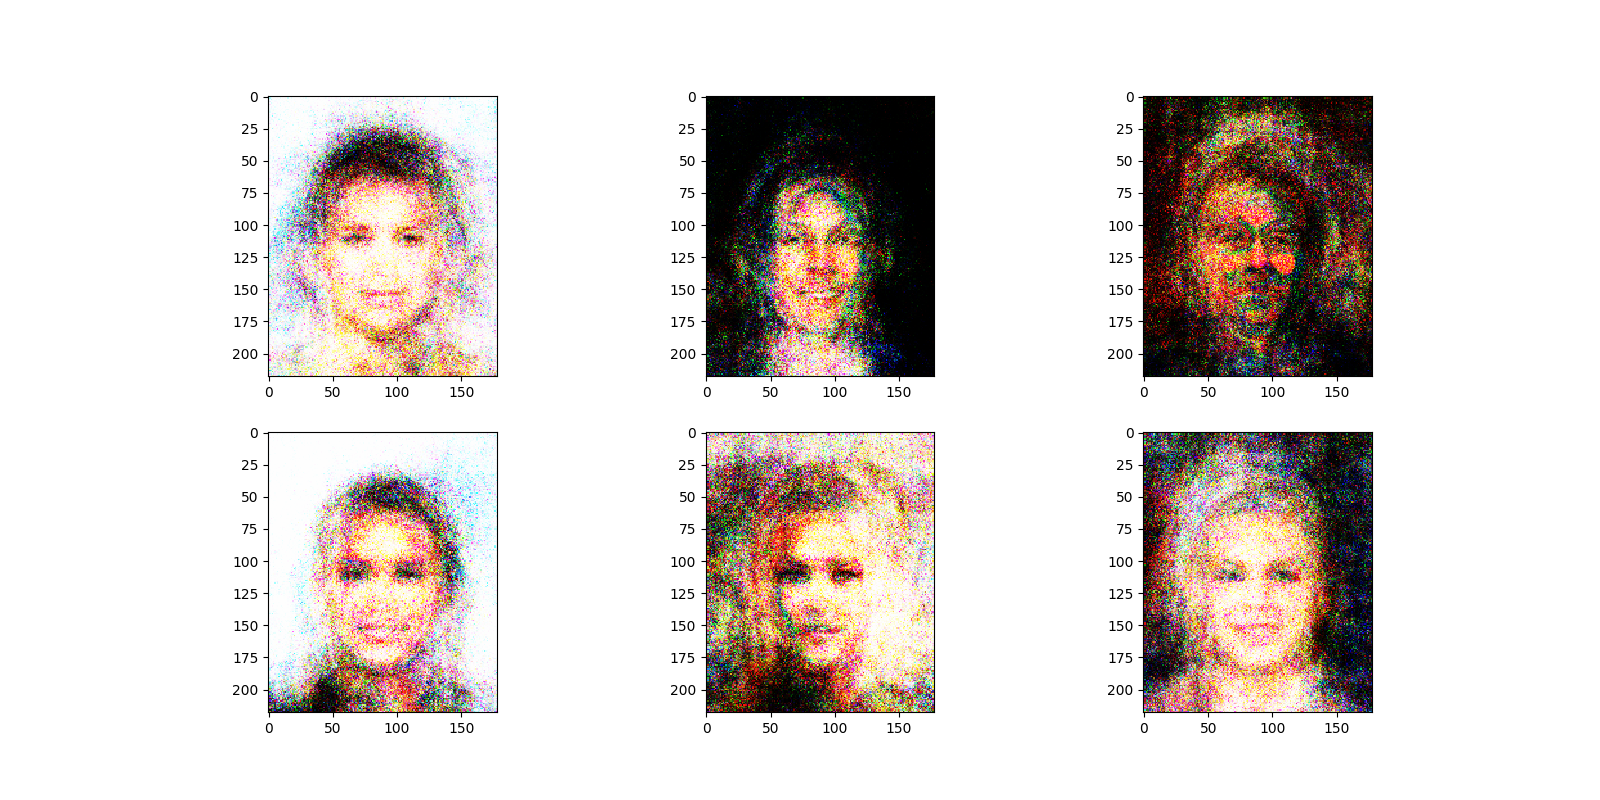
训练结果
查看训练
for i in range(1, 2):
  G = torch.load(
      r'C:\Users\ronie\Desktop\program\PyTorchLearn\pth\gan_face\Gface_cnn_with_{}0000pictures.pth'.format(45))

  # 在3列2行的网格中生成图像
  f, axarr = plt.subplots(2, 3, figsize=(16, 8))
  for i in range(2):
      for j in range(3):
          output = G.forward(generate_random_seed(100))
          imgs = output.detach().permute(0, 2, 3, 1).view(128, 128, 3).cpu().numpy()
          axarr[i, j].imshow(imgs, interpolation='none', cmap='Blues')
  plt.show()
训练结果图片
- 长的有鼻子有眼儿的


Comments | NOTHING